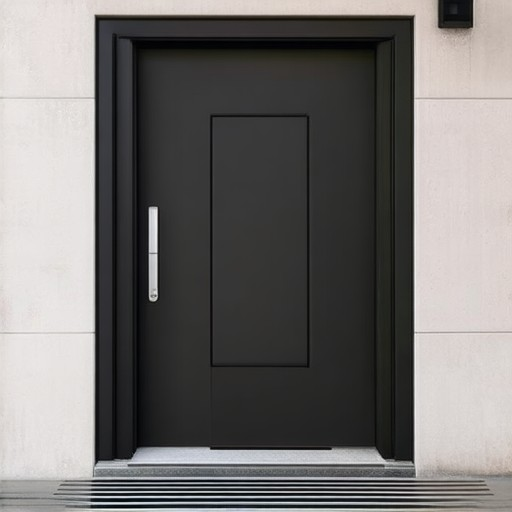
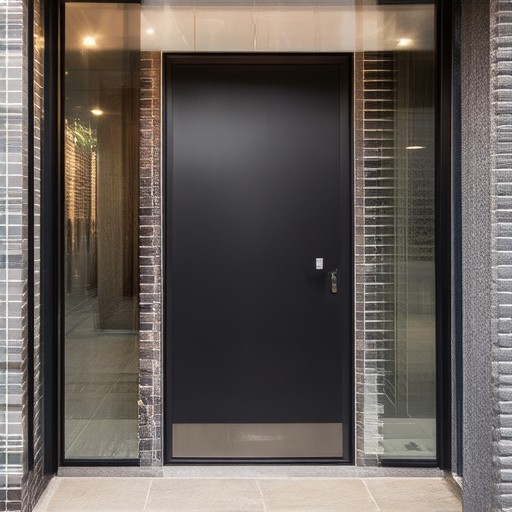
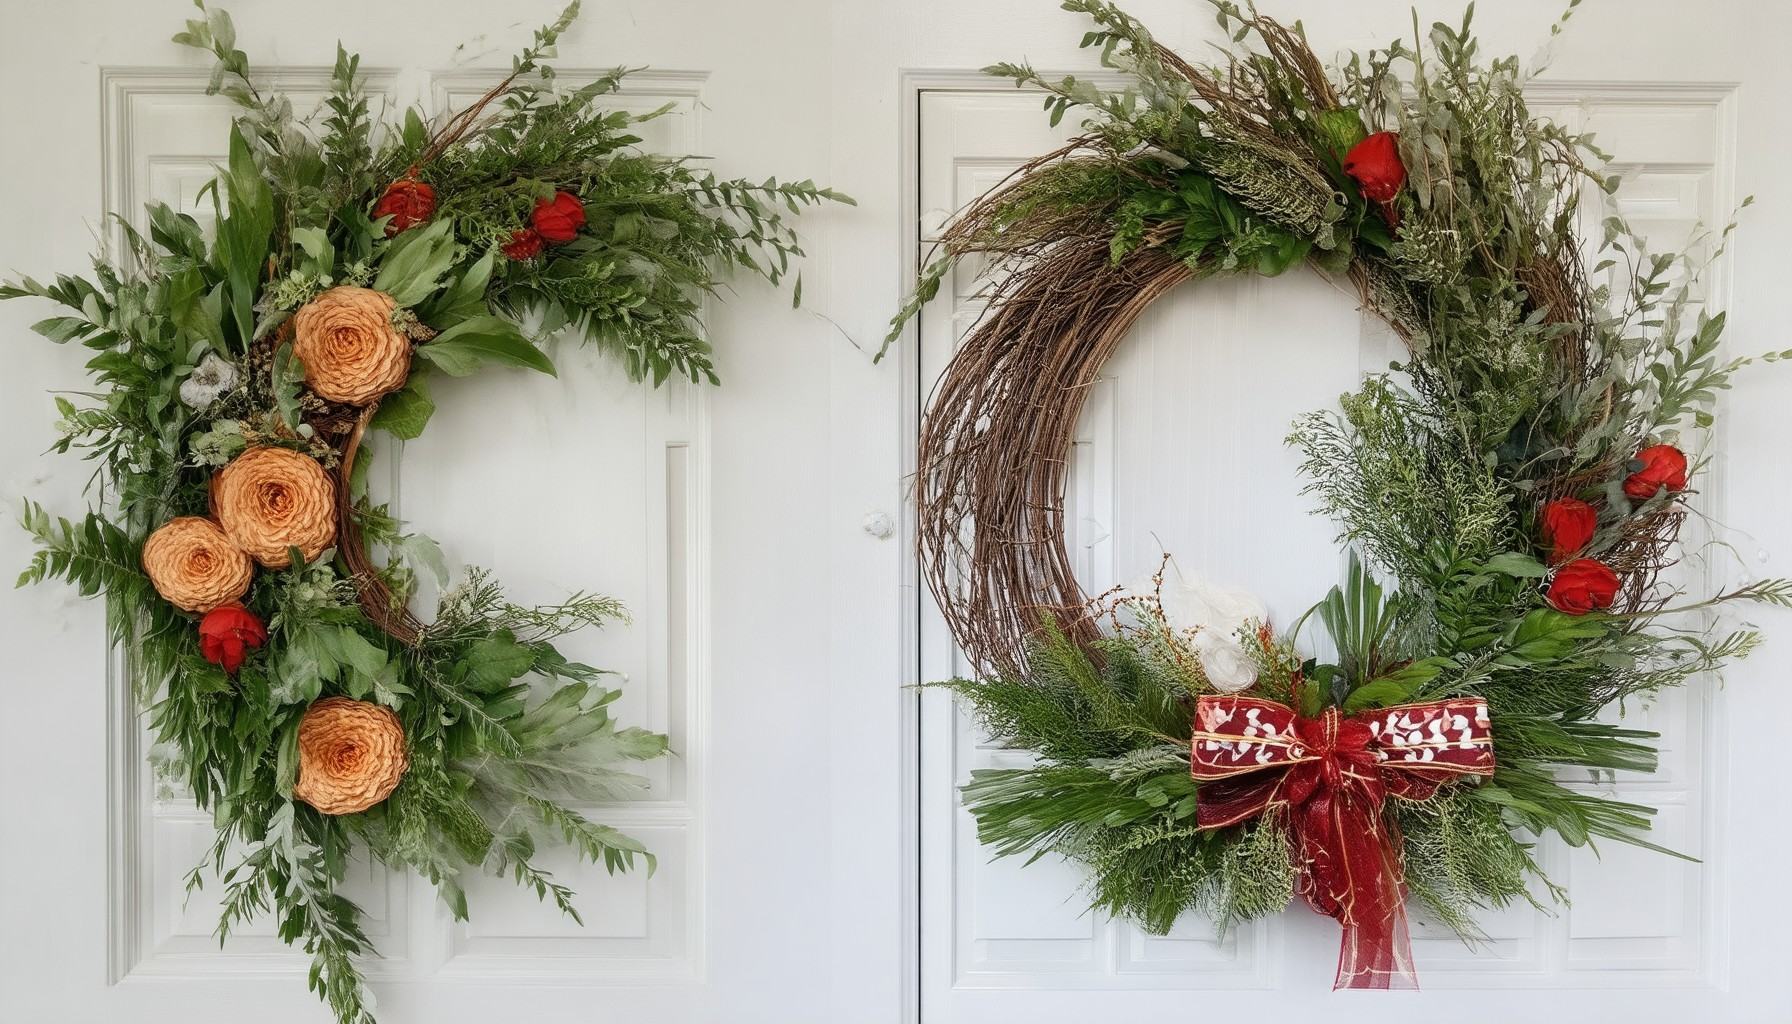
Transform your front door into a statement piece with modern wreath ideas that elevate curb appeal and reflect your personal style. Whether you’re aiming for a sleek, contemporary look or a cozy, festive vibe, modern wreath designs offer endless possibilities to refresh your entrance. From simple yet stylish options to elaborate creations, discover how these innovative wreath ideas can transform your door into a focal point that captivates everyone who passes by. Explore alternatives to traditional wreaths, delve into the symbolic meaning behind front door wreaths, and uncover design secrets to create wreaths that truly stand out. With a blend of creativity and functionality, modern wreath ideas empower you to craft a welcoming and visually striking entrance that’s uniquely yours.
Key Takeaways
– Discover how to craft a modern Christmas wreath with easy-to-follow steps and stylish results.
– Learn to update and personalize your wreath for a fresh, new look every season.
– Create an oasis wreath with floral foam, greenery, and vibrant artificial flowers for a sophisticated door decoration.
– Elevate your door decor with innovative wreath ideas that blend tradition and modernity.

Creative Alternatives to a Wreath for Fall & Winter
Looking for a unique way to decorate your front door without a wreath? Here are 15 stylish and seasonal ideas to inspire your home:
- Seasonal Arrangements:
- Pumpkin displays with gourds and cornucopias for fall.
- Winter wonderlands with evergreen garlands and snowflakes.
- Springtime bouquets with pastel-colored flowers and Easter eggs.
- Decorative Pieces:
- Candlelit jars or lanterns for a cozy glow.
- Winter-themed signs like “Home Sweet Home” or “Welcome.”
- Large pots with seasonal plants, like ivy for winter.
- Modern Options:
- Abstract art pieces or metal sculptures.
- Geometric patterns or minimalist designs.
- LED lights or string lights for a bright look.
- Diy Ideas:
- Hand-painted signs or welcome mats.
- Upcycled materials like old baskets or vintage furniture.
- Custom-made door knobs or knockers.
- Themed Displays:
- Halloween-themed decor like ghosts and bats.
- Christmas-themed items like nativity scenes or Santa figures.
- Valentine’s Day hearts or Easter bunny statues.
- Practical Touches:
- Weather-resistant plants in pots.
- Cozy throws or blankets hung neatly.
- Woven baskets or decorative trays.
These alternatives offer a mix of style, functionality, and personality to your front door, perfect for any season!
What Does a Wreath on the Front Door Mean?
A wreath on the front door typically serves as a decorative element, often used during holidays or special occasions. Here are the key aspects:
- Decorative Purpose : Wreaths are commonly used to enhance the visual appeal of a home during festive seasons like Christmas, Halloween, or other celebrations. They are usually made from fresh flowers, greens, or artificial materials.
- Welcoming Gesture : Placing a wreath on the door can signify a warm welcome to guests, indicating that the residents are ready to receive visitors.
- Symbolism : Wreaths may carry symbolic meanings. For instance, in many cultures, they represent joy, celebration, or good fortune. They can also symbolize seasonal greetings or a festive mood.
- Contextual Use : Beyond decoration, wreaths can have specific uses depending on the occasion. For example, they are often used in weddings, baby showers, or memorials, adding a personal touch to the event.
In summary, a wreath on the front door is primarily a decorative feature, often associated with celebrating holidays or welcoming guests, while also carrying symbolic meanings of joy and celebration.

Do Bows Look Better on Top or Bottom of a Wreath?
The placement of a bow on a wreath is a matter of personal preference and can vary based on the design and size of the wreath itself. Here are some considerations to help you decide:
- Wreath Size and Shape: Smaller wreaths may look better with a bow placed at the top, as it can balance the proportions. Larger wreaths might benefit from a bow at the bottom, depending on the overall arrangement of flowers and greens.
- Occasion and Style: The setting of the wreath, such as a formal event or casual gathering, can influence the bow’s placement. A top bow might add a touch of elegance, while a bottom bow could work well for a more relaxed vibe.
- Bow Size Relative to Wreath: Ensure the bow’s size complements the wreath. A larger bow might overwhelm a small wreath if placed at the bottom, whereas a smaller bow could look lost at the top of a bigger wreath.
For the best result, consider the visual balance of the wreath and the desired aesthetic. Whether you choose to place the bow at the top or bottom, the key is to let your personal style shine!
Looking for more DIY inspiration? Visit our Pravylo Project for creative ideas and step-by-step guides to elevate your crafting projects.

How to Make a Modern Christmas Wreath
To craft a modern Christmas wreath, follow these organized steps:
- Gather Supplies: Collect fresh greens (e.g., fir or pine), wire, ribbon, ornaments, and artificial flowers.
- Prepare Greens: Trim ends of greens to prevent browning. Mist with water to keep them fresh.
- Shape the Wreath: Create a loop with wire, ensuring it’s not too tight. Use a temporary frame (foam or cardboard) for guidance. Wrap greens evenly around the wire, twisting slightly as you go.
- Secure the Base: Remove the frame and tie the wire ends together. Add a decorative bow at the back using a glue stick.
- Decorate with Ornaments: Attach glass ornaments at varying intervals for visual interest. Use ribbons to create small bows along the wreath.
- Add Texture with Flowers: Incorporate artificial flowers like red roses or poinsettias. Glue them into place for stability.
- Display the Wreath: Hang it on your front door for maximum impact. Consider capturing the final look for social media sharing.
How to Update a Christmas Wreath
To refresh your Christmas wreath and give it a fresh look, follow these simple steps:
- Step 1: Gather Supplies
- Wreath frame
- Decorative ornaments, ribbons, or bows
- Hot glue gun or wire cutters (if needed)
- Optional: Additional greenery or artificial plants
- Step 2: Clean the Wreath
- Remove any dead or loose parts of the wreath.
- Gently vacuum or brush off dust and debris.
- Step 3: Add New Ornaments
- Select your preferred decorative pieces, such as:
- Pine cones
- Small stars or angel ornaments
- Beads or crystals
- LED lights for a modern twist
- Secure them in place using floral wire or hot glue.
- Step 4: Enhance with Greenery
- Add fresh sprigs of mistletoe, ivy, or holly for a natural look.
- Or, use artificial greenery for year-round appeal.
- Step 5: Add a Personal Touch
- Personalize your wreath with family photos embedded in resin or glass.
- Or, use a monogrammed charm attached to the frame.
- Step 6: Secure and Arrange
- Flatten the surface of the wreath for easier decoration.
- Arrange your chosen ornaments evenly around the frame.
- Ensure everything is securely fastened before hanging.
- Step 7: Display with Style
- Hang your updated wreath in a prominent spot, like your front door.
- Consider using a wreath hook or nail for secure display.
Pro Tip: To make your wreath stand out, try incorporating seasonal elements like snowflakes, candy canes, or winter-themed decor. You can also add a subtle string of twinkling lights for a magical touch!

How to Make an Oasis Wreath
To create a stunning oasis wreath, follow these organized steps:
- Gather Materials :
- Floral foam ring
- Wire stems
- Greenery (leaves or sprigs)
- Artificial flowers (various colors)
- Hot glue gun and glue sticks
- Scissors or craft knife
- Optional: Ribbons, pearls, or decorative elements
- Prepare the Base :
- Start with the floral foam ring, forming the core of your wreath.
- Attach Greenery :
- Wrap greenery around the edges of the foam ring to create a natural look, securing it with glue.
- Arrange Flowers :
- Begin by inserting wire stems through the foam, spacing them evenly around the circle.
- Secure each flower at the base with hot glue to ensure stability.
- Flower Placement :
- Arrange flowers starting from the back, working around to the front. Mix different colors for a gradient effect.
- Consider using roses, hydrangeas, and lavender for a classic oasis appearance.
- Decorative Enhancements :
- Add ribbons or pearls at the front for extra flair, ensuring they don’t overcrowd the wreath.
- Settle and Display :
- Allow the wreath to sit for a short time to ensure the glue holds.
- Display prominently, such as on a door or wall, to enjoy your handcrafted piece.
By following these steps, you’ll create a beautiful oasis wreath that lasts and impresses anyone who sees it!


0 Comments