
Discover a world of simple yet imaginative family-friendly crafts that bring joy and creativity to your home. Perfect for all ages, these easy-to-make activities using everyday items like paper plates offer endless possibilities for fun and bonding. Whether you’re looking for holiday-themed decorations or just a quick family activity, these crafts are designed to be engaging, versatile, and perfect for families of all sizes. From festive celebrations to casual weekends, these paper plate crafts ensure that every moment together is meaningful and memorable.
Key Takeaways
– Simple and Fun Family Activities: Discover easy-to-follow, family-friendly paper plate crafts that require just a few supplies.
– Variety of Animal-Themed Creations: Create adorable animal-themed crafts like paper plate puppies and more, perfect for kids of all ages.
– Creative and Engaging: Engage in creative activities that promote family bonding and spark imagination.
– Minimal Supplies Needed: Transform ordinary paper plates into charming animals with minimal effort and maximum impact.
– Versatile and Perfect for Occasions: Ideal for birthdays, school projects, or casual family days, these crafts are versatile and fun.
– Step-by-Step Tutorials and More Ideas: Find step-by-step tutorials and explore more family-friendly ideas on the Pravylo Project!
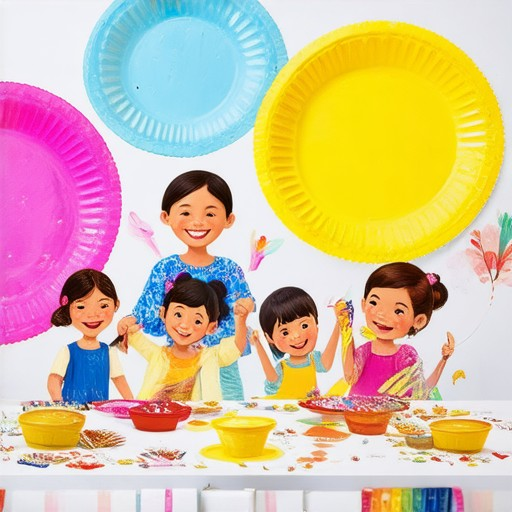
Simple Family-Friendly Craft Idea
Transform ordinary materials into charming keepsakes with this easy craft project!
Materials Needed:
- Button(s)
- Fabric scraps
- Scissors
- Fabric-safe glue stick
- Optional: Needle and thread for stitching
- Yarn or string for hanging
Instructions:
- Gather Materials: Collect buttons of various shapes and sizes, along with fabric scraps or leftover pieces from previous projects. Scissors and a glue stick are essential tools for this craft.
- Cut Fabric Squares: Using scissors, cut small squares from the fabric scraps. The size can vary depending on the buttons you’re using—larger buttons may require slightly bigger squares.
- Add Buttons: Place a button in the center of each fabric square. For added personality, you can stack multiple buttons or arrange them in a pattern.
- Glue and Secure: Apply a small dot of fabric-safe glue to the back of each button. Press firmly to secure it onto the fabric square. Allow the glue to dry completely before proceeding.
- Cut Out Patches: Once the glue has dried, carefully cut around the edges of the fabric squares to remove excess material. This will leave you with individual button patches.
- Hang Your Creations: To turn these patches into keychains, thread a piece of yarn or string through the edge of each patch and tie it securely. Hang them on a keychain ring or simply loop them around a keychain.
Why This Works:
This craft is perfect for families because it’s adaptable to all ages. Little ones can help with gluing and cutting, while older children can design their own unique patterns. The result is a personalized accessory that can be enjoyed for years to come.
Make It a Family Activity:
Turn this into a bonding session by having everyone create their own version of the patches. Discuss ideas for designs and share stories about the buttons you’ve collected. This craft encourages creativity and provides a fun way to remember special moments together.
Organize Your Work:
Once completed, store your keychains in a small jewelry box or drawer for easy access. They’re perfect for adding a touch of charm to backpacks, purses, or even car keys!
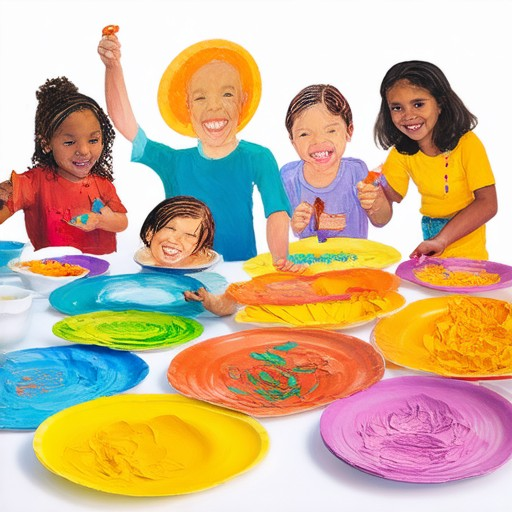
Simple Paper Plate Animal Craft
Create a fun and engaging family-friendly craft using paper plates! This easy animal craft is perfect for kids of all ages and requires just a few simple supplies.
Materials Needed:
- Paper plates (large ones work best)
- Scissors (or adult-supervised cutting for little ones)
- Colored markers, crayons, or paints
- Glue sticks or tape
- Optional: googly eyes or beads for decoration
Steps to Create:
- Cut Out Shapes: Work together to cut out basic animal shapes from the paper plates. Simple options include dogs, cats, rabbits, or elephants. Cut along the edges with scissors or let an adult help if needed.
- Fold and Attach: Fold the sides of the paper plate to create a 3D effect. Secure with glue sticks or tape at the creases to keep the shape sturdy.
- Add Features: Use markers or paints to draw faces, ears, and other details. Add googly eyes or beads for extra personality!
- Display Your Creation: Stand the paper plate animal upright on a table or hang it on a wall to show off your masterpiece!
Tips for Success:
- Let kids get creative with colors and decorations!
- Use soft glue or tape for little hands to avoid sharp edges.
- Consider adding a base (like a paper plate circle) for a more stable structure.
- Encourage storytelling by naming your animal and giving it a personality!
This simple craft provides hours of entertainment and is perfect for family game nights, school projects, or birthday parties. Get creative and enjoy crafting together!
Simple Family-Friendly Paper Plate Puppies
- Materials Needed: One square paper plate, scissors, glue stick, markers or stickers, optional embellishments like glitter or fabric scraps.
- Instructions:
- Cut the paper plate in half to create a rectangular shape. This will serve as the body of your puppy.
- Fold the top two corners down to form the ears of the puppy.
- Use the scissors or your fingers to create a small slit at the bottom of the folded ears for the eyes.
- Draw or place circular stickers on the slits for the puppy’s eyes. Add details like a nose and mouth using markers or a fine-tip pen.
- Cut a small triangle from the bottom center of the paper plate to create the puppy’s tail.
- Glue the tail to the bottom of the body to complete the look.
- Variations: Customize your puppy by adding different colors, patterns, or accessories like collars using fabric scraps or stickers.
- Tips: Let the glue dry completely before playing with the puppy. Wash hands after handling glue and markers.
Transform a simple paper plate into a cute puppy with this easy craft idea perfect for family bonding. Great for kids of all ages, this project requires minimal supplies and offers endless opportunities for creativity. Whether you’re looking for a quick afternoon activity or a fun gift, this paper plate puppy craft is sure to bring out the artist in everyone!
Explore more family-friendly craft ideas on the Pravylo Project for inspiration and step-by-step tutorials. From animal crafts to seasonal decorations, there’s something for everyone to enjoy!
Simple Paper Plate Animal Craft
Create a fun and engaging family-friendly craft using paper plates! This easy animal craft is perfect for kids of all ages and requires just a few simple supplies.
Materials Needed:
- Paper plates (large ones work best)
- Scissors (or adult-supervised cutting for little ones)
- Colored markers, crayons, or paints
- Glue sticks or tape
- Optional: googly eyes or beads for decoration
Steps to Create:
- Cut Out Shapes: Work together to cut out basic animal shapes from the paper plates. Simple options include dogs, cats, rabbits, or elephants. Cut along the edges with scissors or let an adult help if needed.
- Fold and Attach: Fold the sides of the paper plate to create a 3D effect. Secure with glue sticks or tape at the creases to keep the shape sturdy.
- Add Features: Use markers or paints to draw faces, ears, and other details. Add googly eyes or beads for extra personality!
- Display Your Creation: Stand the paper plate animal upright on a table or hang it on a wall to show off your masterpiece!
Tips for Success:
- Let kids get creative with colors and decorations!
- Use soft glue or tape for little hands to avoid sharp edges.
- Consider adding a base (like a paper plate circle) for a more stable structure.
- Encourage storytelling by naming your animal and giving it a personality!
This simple craft provides hours of entertainment and is perfect for family game nights, school projects, or birthday parties. Get creative and enjoy crafting together!
Simple Paper Plate Animal Craft: A Fun Family-Friendly Activity
Create a simple yet engaging family-friendly craft using paper plates! This easy animal-themed craft is perfect for kids of all ages and requires minimal supplies. Follow these steps to create a fun project that everyone can enjoy:
- Materials Needed: – Paper plates – Scissors – Glue sticks or tape – Markers, colored pencils, or stickers – Optional: Stickers, googly eyes, and pipe cleaners
- Step 1: Choose Your Animal Shape
- Step 2: Add Features
- Step 3: Decorate
- Step 4: Display
Decide on the animal you’d like to create. Popular choices include cats, dogs, birds, or fish. Cut out the shape from a paper plate or trace it onto the plate for younger kids who may need assistance.
Enhance your animal by adding features like ears, tails, or eyes. Use scissors to cut small circles for eyes and attach them with glue sticks. For a extra touch, add pipe cleaners for whiskers or legs.
Let the kids go wild with markers or stickers to give their animal a unique look. Encourage them to add patterns, colors, and facial expressions to bring their creature to life.
Hang your completed animal craft on a wall or pin it to a bulletin board. Consider arranging all the animals together to create a fun animal menagerie display.
For added fun, challenge the family to name the animals or have a mini “animal show” to showcase their creations. This craft is not only educational but also promotes creativity and fine motor skills.
Looking for more family-friendly craft ideas? Explore our DIY Projects collection for inspiration and step-by-step tutorials. Happy crafting!


0 Comments