
DIY photo frames offer a fun and creative way to personalize your space, whether you’re crafting for kids, planning a birthday celebration, or simply wanting to add a unique touch to your home decor. With easy-to-follow guides and a wide range of materials, anyone can learn how to make DIY photo frames that reflect their style. From simple cardboard frames to more elaborate wooden designs, these handmade pieces allow for endless customization, making them perfect gifts or decorative accents. Discover how DIY photo frames can transform your space while sparking creativity and adding a personal flair to your surroundings.
Key Takeaways
– Easy and Rewarding DIY Project: Create a personalized photo frame quickly with minimal tools and materials.
– Customizable Designs: Personalize your frame with paint, decorations, or unique shapes to match your style.
– Affordable and Eco-Friendly: Repurpose everyday items like cardboard or tin cans to craft your frame.
– Versatile Options: Choose from a range of creative frames, including mason jars, recycled wood, or even glass with rocks.
– Perfect for Gifting: Craft a unique frame for loved ones, turning cherished memories into meaningful gifts.
How Can I Make DIY Photo Frames Easily?
Creating your own DIY photo frames is a fun and rewarding project that allows you to personalize your photos in a unique way. Whether you’re looking for a simple gift or a decorative piece for your home, here’s a step-by-step guide to making your own DIY photo frames.
Step 1: Gather Your Materials
To make a basic DIY photo frame, you’ll need:
- Cardboard or wood panels (for the frame)
- Photocopy paper or printable vinyl
- Paint or spray paint (optional)
- Paintbrush or sponge
- Clear acrylic sealant (optional)
- Optional tools: scissors, ruler, pencil, glue sticks
Step 2: Measure and Cut
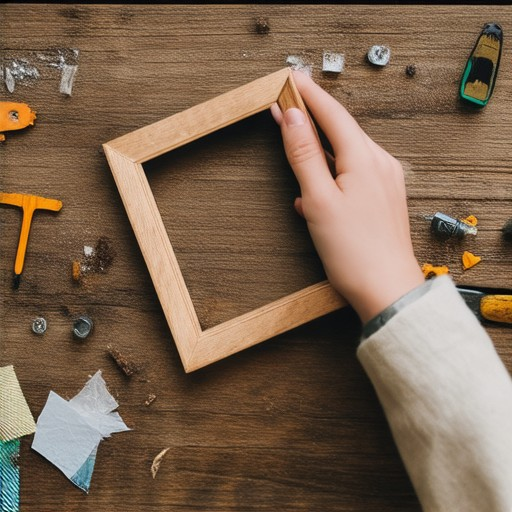
Measure the size of your photo to determine the dimensions of your frame. Most standard photos are 4×6 inches, so you can adjust accordingly. Cut out a rectangle from your cardboard or wood panel, leaving enough space on one side for the width of the frame.
Step 3: Assemble the Frame
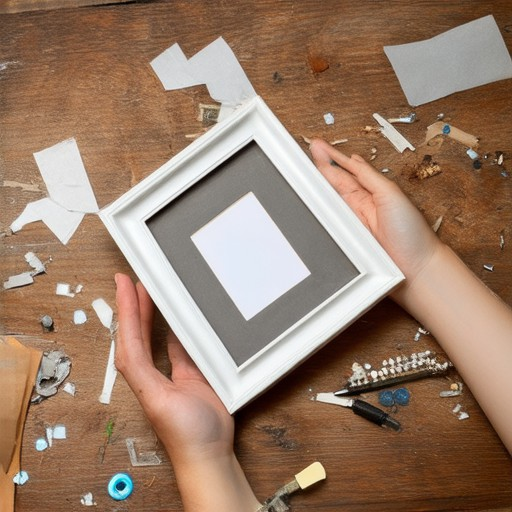
Take the cut-out rectangle and fold it over itself to create the frame. Secure the sides with tape or glue to keep them in place. Insert your photo into the frame, ensuring it’s centered for a neat look.
Step 4: Customize
For a personalized touch, you can decorate your frame using paints, stencils, or adhesive-backed vinyl. Add quotes, names, or designs to make it uniquely yours.
Step 5: Seal and Display
If you’d like to protect your frame, apply a clear acrylic sealant to the front and back. Then, hang it on your wall or display it on a shelf for everyone to enjoy!
With these simple steps, you can create your own DIY photo frames and turn your favorite memories into lasting keepsakes. Explore more creative DIY ideas on PravyloProject.com to find inspiration for your next project!
The Best Materials for Making DIY Photo Frames
When crafting DIY photo frames, selecting the right materials is crucial for both functionality and aesthetic appeal. Here’s a breakdown of the most popular and effective materials:
- Wood : A classic choice, wood offers durability and a natural look. It’s easy to work with and can be painted or stained to match any decor style.
- Metal : For a modern, industrial vibe, stainless steel or aluminum are excellent options due to their strength and rust resistance.
- Plastic : Lightweight and easy to mold, plastic is ideal for temporary frames or those meant for indoor use.
- MDF (Medium-Density Fiberboard) : A composite material that’s flat, smooth, and easy to paint. It’s more affordable than solid wood and works well for precise cuts.
- Bamboo : An eco-friendly alternative, bamboo is lightweight yet strong. It can be painted or varnished to suit various styles.
- Foam Core : Perfect for quick projects, foam core is lightweight and cost-effective. It’s great for temporary frames or kids’ rooms.
Choose the material based on your project’s intended use—whether for permanent display or temporary framing. For more tips and project ideas, explore DIY projects on the Pravylo Project website.
Simple DIY Photo Frames for Kids
-
Cardboard Tube Photo Frame
Step-by-step instructions:
- Cut a length of cardboard tube to size.
- Glue two tubes together at the ends to form a U-shape.
- Add a backing piece to complete the frame.
- Paint or decorate with kid-friendly colors.
-
Paper Towel Roll Photo Frame
Easy assembly:
- Roll a paper towel tightly and secure with rubber bands.
- Wrap it in fabric or a decorative paper.
- Add a ribbon or string for hanging.
- Insert photos behind the fabric face.
-
Empty Toilet Paper Tube Frame
Quick project:
- Prepare the tube by cutting one end slightly.
- Glue a piece of cardboard to the open end.
- Decorate with paints, stickers, or glitter.
- Insert photos and display on a wall.
Tips for Success
- Use kid-safe scissors and glue guns with adult supervision.
- Pre-cut shapes from cardboard or paper for easier handling.
- Allow kids to personalize frames with stamps or markers.
Bonus Idea
- Turn frames into necklaces or keychains by adding beads.
- Make multiple frames for a personalized photo display.
These simple DIY photo frames are perfect for kids to create and enjoy. Get inspired and start crafting today!
Check out more DIY ideas on Etsy
Find supplies at Michaels

Simple DIY Photo Frame Tutorial
Creating a simple DIY photo frame is an easy and rewarding project that can be completed in just a few steps. Here’s a guide to making your own:
- Materials Needed: – Cardboard (old shoeboxes work great) – Scissors – Glue sticks or tape – Markers or paint – Decorative elements (ribbons, stamps, or stickers – optional)
- Step 1: Measure and Cut the Photo Opening – Trace the size of your photo onto the cardboard using a marker. – Cut out the traced shape with scissors, ensuring the opening is slightly larger than the photo to allow for framing.
- Step 2: Create the Frame – Cut strips of cardboard to form the frame. Most commonly, four strips are used for a rectangular frame. – Attach the strips together using glue sticks or tape, overlapping slightly at the corners for a neat finish.
- Step 3: Decorate the Frame – Use markers or paint to personalize the frame with words, designs, or colors. – Add decorative elements like ribbons, stamps, or stickers for extra flair.
- Step 4: Assemble the Frame – Insert the photo into the frame and secure it in place. – Hang the frame on the wall using a picture hook or wire.
By following these simple steps, you can create a personalized DIY photo frame that adds a unique touch to any room. Whether it’s for a gift or just for decorating your space, this project is both fun and fulfilling!
The Easiest and Most Creative DIY Photo Frame Ideas
Discover simple yet creative DIY photo frame ideas perfect for gifts. Find easy-to-follow tutorials and unique designs to personalize your photos.
- Bottle Cap Photo Frame: Transform empty beer or soda bottles into a unique photo display. Simply drill holes through the caps and string them together to create a decorative frame around your favorite photo.
- Mason Jar Photo Frame: Repurpose a clean mason jar by removing the lid and attaching a photo behind the glass. Add a ribbon or twine around the jar for a rustic look.
- Cardboard Cutout Frame: Create a lightweight, kid-friendly frame by cutting out a shape from cardboard and painting it. Place your photo inside for a fun, artistic display.
- Glass Frame with Rocks: Fill an unused glass frame with small rocks or pebbles for a natural, artistic touch. Place your photo inside and let the frame sit undisturbed for a unique aesthetic.
- Picture Tube Frame: Use a paper towel tube or similar material to create a cylindrical frame. Wrap it with washi tape or paint it to match your decor, then insert your photo inside.
- Tin Can Photo Frame: Clean out a small tin can and use it as a mini photo frame. Paint it or decorate it with stamps or stickers before displaying your cherished memory.
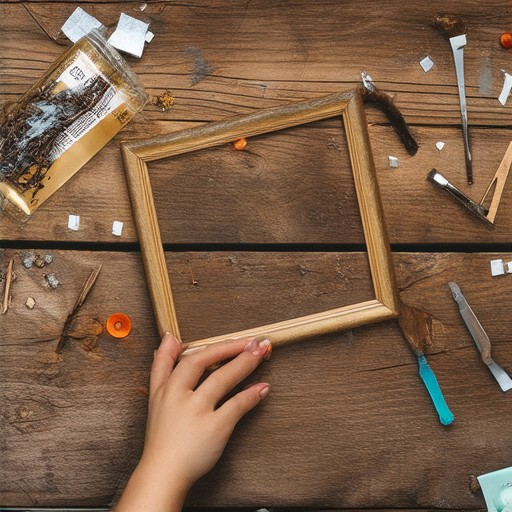
- Recycled Wood Frame: Collect scraps of wood and assemble them into a simple frame. Sand the edges and finish it with a coat of paint or stain for a stylish, eco-friendly display.
- DIY Mirror Frame with Candle Holders: Turn an old mirror into a decorative frame by adding candle holders to the sides. Place tea lights inside for a warm, glowing effect that doubles as a photo display.
- Driftwood Photo Frame: Gather driftwood pieces and arrange them in a circular or rectangular pattern to create a natural frame. Secure your photo behind the wood for a coastal-inspired look.
These DIY photo frame ideas offer a variety of styles, from minimalist to whimsical, ensuring there’s something perfect for every taste. Whether you’re looking for a quick project or something more elaborate, these frames are sure to add a personal touch to your home decor.


0 Comments