Empty glass jars often find themselves sitting idle in kitchen cabinets, overlooked for their true potential. Yet, these simple, cylindrical shapes are a hidden treasure trove of creativity, waiting to be transformed into stunning decorative items, thoughtful gifts, and even practical household essentials. From crafting festive holiday decorations to repurposing them into sleek storage solutions, glass jars offer endless possibilities for those willing to explore their craft potential. Whether you’re a seasoned DIY enthusiast or a newcomer to the world of making, glass jars provide a blank canvas for unleashing your creativity. In this article, we’ll delve into the many ways to repurpose glass jars, offering easy-to-follow ideas for every season and skill level. Discover how to transform these everyday objects into unique crafts, decorative pieces, and functional items that add charm to your home. Let’s embark on a journey to unlock the full potential of glass jars and embrace the joy of creative crafting!
Key Takeaways
– Modge Podge Can Transform Your Mason Jars: Achieve a sleek, glossy look by preparing and applying Modge Podge to your glass jars, perfect for DIY craft projects.
– Efficient Glass Repair with Mod Podge Dry Clear: Use Mod Podge Dry Clear for quick touch-ups on glass surfaces, ideal for minor repairs and restorations.
– Seal Your Mason Jars Effectively: Choose from boiling-water, wax, plastic, or metal lids to ensure your jars are securely sealed, maintaining freshness and protecting your creations.
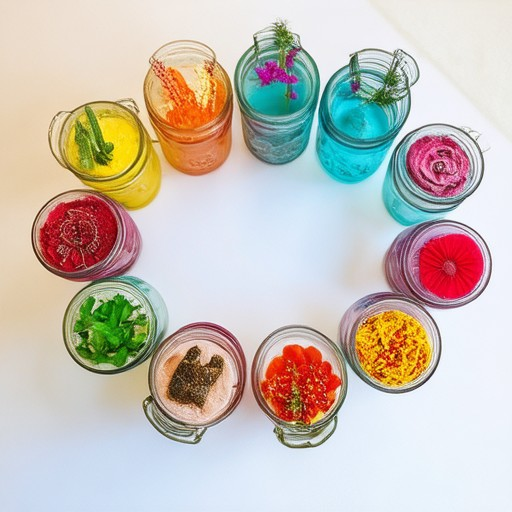
What to Make with Empty Glass Jars
Empty glass jars can be repurposed in numerous creative ways, turning them into useful and decorative items around your home. Here are some ideas:
- Organizers:** Use glass jars as organizers for small items like screws, beads, or jewelry components. Their transparency makes it easy to identify contents.
- Planters:** Create a mini garden by drilling holes in the lid (if applicable) and filling with soil for plants like cacti or succulents.
- Terrariums:** Transform jars into enclosed ecosystems by adding plants, small insects, and a light source to create a self-sustaining environment.
- Kitchen Storage:** Store spices, rice, flour, or other dry goods in glass jars for easy access and visibility.
- Candle Making:** Use jars as molds to create homemade candles, adding a personal touch to your home decor.
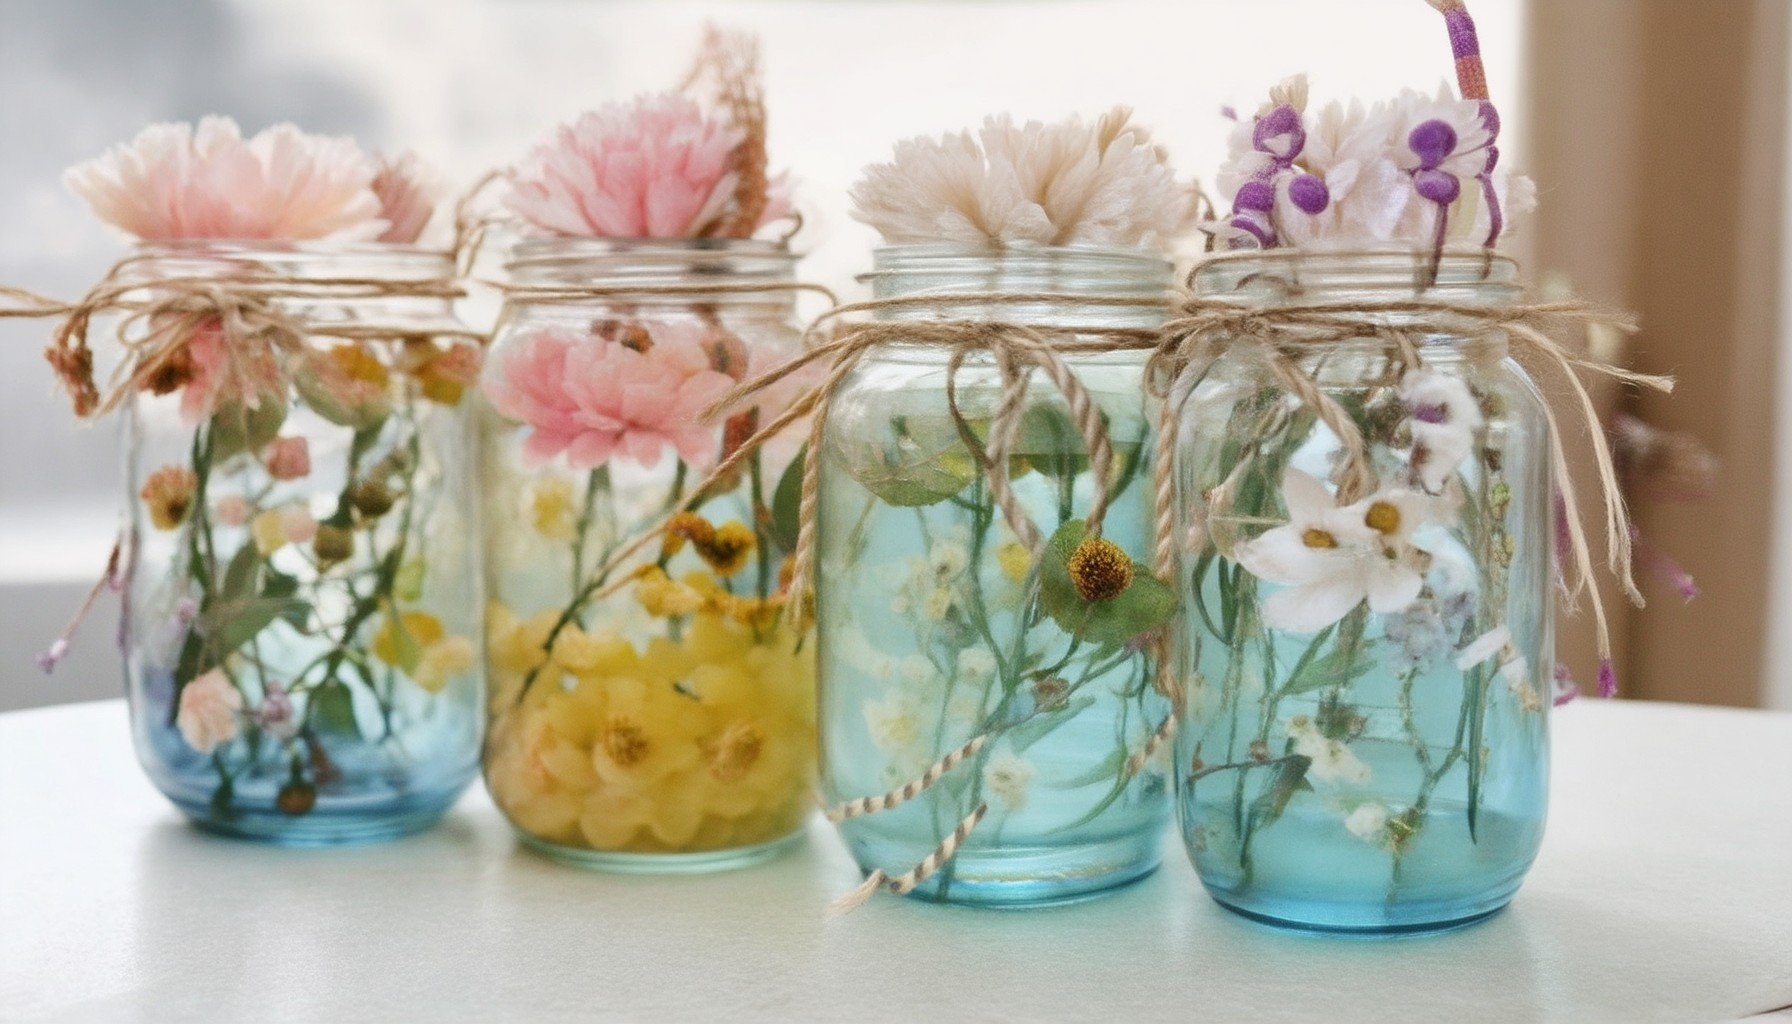
- Vases:** Repurpose jars as decorative vessels for fresh flowers or artificial arrangements.
- Seasonal Storage:** Keep holiday decorations, clothing, or summer gear stored safely until needed next season.
- Travel Essentials:** Fill jars with snacks, tea bags, or other travel-friendly items for trips.
Considerations:** Ensure jars are clean and free of contaminants before storing food items. Check for potential hazards like sharp edges or weak spots in the glass.
How to Repurpose a Glass Jar
Repurposing a glass jar offers a sustainable and creative way to give new life to an otherwise discarded item. Here are several innovative ways to transform a glass jar:
- Organizational Storage:** Use glass jars to store small items like screws, beads, or office supplies. Their transparent nature allows you to quickly identify contents.
- Plant Containers:** Ideal for low-light plants like succulents or snake plants, glass jars provide an aesthetic and eco-friendly home for your greenery.
- Food Storage:** Utilize glass jars for storing leftovers, snacks, or dry goods. Their airtight seal keeps foods fresh and is safe for refrigeration or freezing.
- Preserves and Infusions:** Create flavored oils, vinegars, or infused spirits by adding herbs, fruits, or spices to glass jars. This process enhances both taste and presentation.
- Kitchen Essentials:** Employ glass jars as measuring cups or for holding spices. Their durability and reusability make them a practical choice for culinary use.
- Decorative Pieces:** Fill glass jars with sand, small stones, or colored beads to create unique decorative accents for your home or garden.
- Bathroom Storage:** Store cotton balls, bath salts, or other essentials in glass jars, benefiting from their transparency and ease of cleaning.
- Candle Containers:** Use glass jars to house tealight candles or soy wax melts, offering an elegant and reusable alternative to traditional holders.
- Crafting Projects:** Explore glassblowing or use jars as molds for resin or clay projects, leveraging their smooth surface for artistic endeavors.
- Small Electronics Storage:** Keep earbuds, chargers, or other small items organized in glass jars, ensuring a tidy and accessible space.
- Drinkware:** Convert empty glass jars into reusable drinking glasses for juices, smoothies, or cocktails, perfect for casual gatherings.
- Pet Accessories:** Some small pets, like certain fish, may inhabit glass jars as part of their habitat, though suitability depends on the pet’s needs.
Are Glass Jars Worth Any Money?
Glass jars can indeed hold significant value, especially when they are antique or vintage. Their worth depends on several factors:
- Age: Older jars, particularly those from the mid-20th century, are often more valuable due to their historical significance and craftsmanship.
- Rarity: Unique designs, colors, or patterns can greatly increase a jar’s value. For example, Depression-era glassware is highly sought after.
- Condition: Jars in excellent condition, free from chips, cracks, or discoloration, command higher prices. Professional appraisals can provide accurate estimates.
- Brand: Certain brands, like Anchor Hocking or Libbey, are known for producing high-quality glassware that can appreciate in value over time.
- Historical Significance: Jars that were used historically, such as those from factories with notable pasts, can be quite valuable to collectors.
Modern glass jars, while functional, are typically not considered investment-grade unless they are rare or part of a specialized collection. However, they can still hold sentimental or nostalgic value.
To determine the value of your glass jars, consider:
- Research: Look up similar items online or consult auction catalogs to get an idea of market value.
- Expert Appraisal: Hire a professional appraiser to evaluate your jars, especially if you’re planning to sell them.
- Auction Houses: Specialty auction houses often handle glassware and can provide competitive bids.
For more information on collecting and preserving glassware, visit our DIY Guides section. Learn how to restore vintage glass jars and add them to your home decor collection.
Additionally, explore our glass-blowing tutorials to understand the craftsmanship behind these timeless pieces.
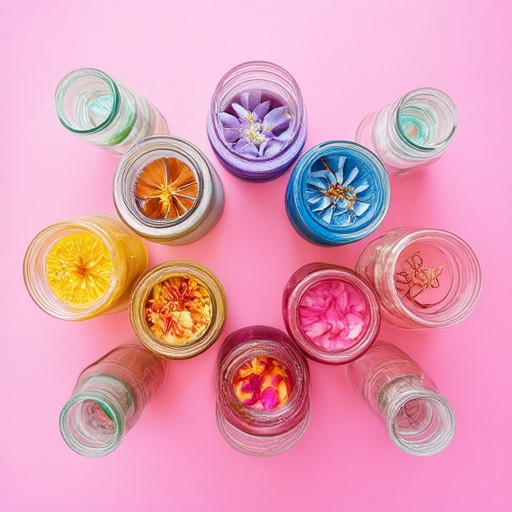
Does Modge Podge Work on Mason Jars?
Yes, Modge Podge can work on Mason jars, but it requires careful preparation and application. Here’s a step-by-step guide:
- Preparation :
- Clean the Mason jar thoroughly with soap and water.
- Remove any labels or coatings using a mild solvent.
- Sand the surface lightly to ensure adhesion.
- Application :
- Apply a small amount of Modge Podge to a test area to check adhesion.
- Use a brush or sponge to spread the adhesive evenly, avoiding thick layers.
- Let it dry completely according to the product instructions (usually 24 hours).
- Considerations :
- Modge Podge may become slightly thicker at the edges, but this won’t affect functionality.
- Allow the jar to cure fully before using it to prevent transferring residue to contents.
- Consider the finish – Modge Podge typically provides a glossy appearance.
- Alternatives :
- For a smoother finish, consider glass-specific adhesives or sealants.
By following these steps, you can successfully use Modge Podge on your Mason jars for crafting or decorative purposes.
Does Mod Podge Dry Clear Work on Glass?
Yes, Mod Podge Dry Clear can be used on glass for minor repairs and touch-ups. It is a versatile product that can effectively protect and repair glass surfaces, such as windows or mirrors.
How to Use Mod Podge on Glass
- Clean the glass surface thoroughly before applying Mod Podge. Use a mild detergent and rinse well.
- Remove any debris or dirt using a soft cloth or paper towel.
- Apply a thin layer of Mod Podge directly to the damaged area. Ensure the surface is dry and free from oils or moisture.
- Let the Mod Podge dry completely, typically taking about 24 hours, before handling the glass again.
Considerations
Mod Podge is best suited for small touch-ups and is not recommended for covering large glass areas. It may cause discoloration over time if applied thickly or in large amounts.
By following these steps, you can successfully use Mod Podge Dry Clear to repair and protect your glass surfaces.
What’s the Best Way to Seal a Mason Jar?
Sealing a mason jar properly is essential for preserving your preserves. Here are some effective methods to ensure your jars are securely sealed:
Boiling-Water Method
This is a popular and reliable method for sealing mason jars after canning. Follow these steps:
- Step 1: After processing your jars in a boiling-water bath, turn off the heat and allow them to cool slightly.
- Step 2: Remove the hot jars from the water and place them on a clean towel or cooling rack.
- Step 3: Cover the jars immediately with sterile canning lids and screw on the rings tightly.
- Step 4: Let the jars cool completely before storing them.
This method ensures a tight seal, preventing contamination and extending shelf life.
Wax Seals
For a traditional touch, you can use a wax seal:
- Step 1: Sterilize the jars and rims by dipping them in boiling water for a few seconds.
- Step 2: Pour melted beeswax onto the jar rim, ensuring it covers the area without dripping.
- Step 3: Allow the wax to set completely before capping with a lid.
Wax seals are great for aesthetic appeal but require careful preparation to avoid leaks.
Plastic Covers
If you prefer something reusable:
- Step 1: Clean and dry the jar thoroughly.
- Step 2: Cut a circle of plastic film slightly larger than the jar opening.
- Step 3: Place the film over the jar opening and secure it with a rubber band.
Plastic covers are convenient but may not provide an airtight seal for long-term storage.
Metal Lids
Some canners prefer using metal lids for certain recipes:
- Step 1: After processing, remove the jars from the water and cool them slightly.
- Step 2: Place a clean metal lid on the jar and screw on the ring tightly.
Metal lids are often used with the boiling-water method for added protection.
Conclusion: The best method depends on your preferences and needs. Whether you choose the boiling-water method, wax seals, plastic covers, or metal lids, ensure your jars are properly prepared and sealed for optimal preservation.
For more detailed instructions and additional tips, visit our DIY Sealing Guide on the Pravylo Project.



0 Comments