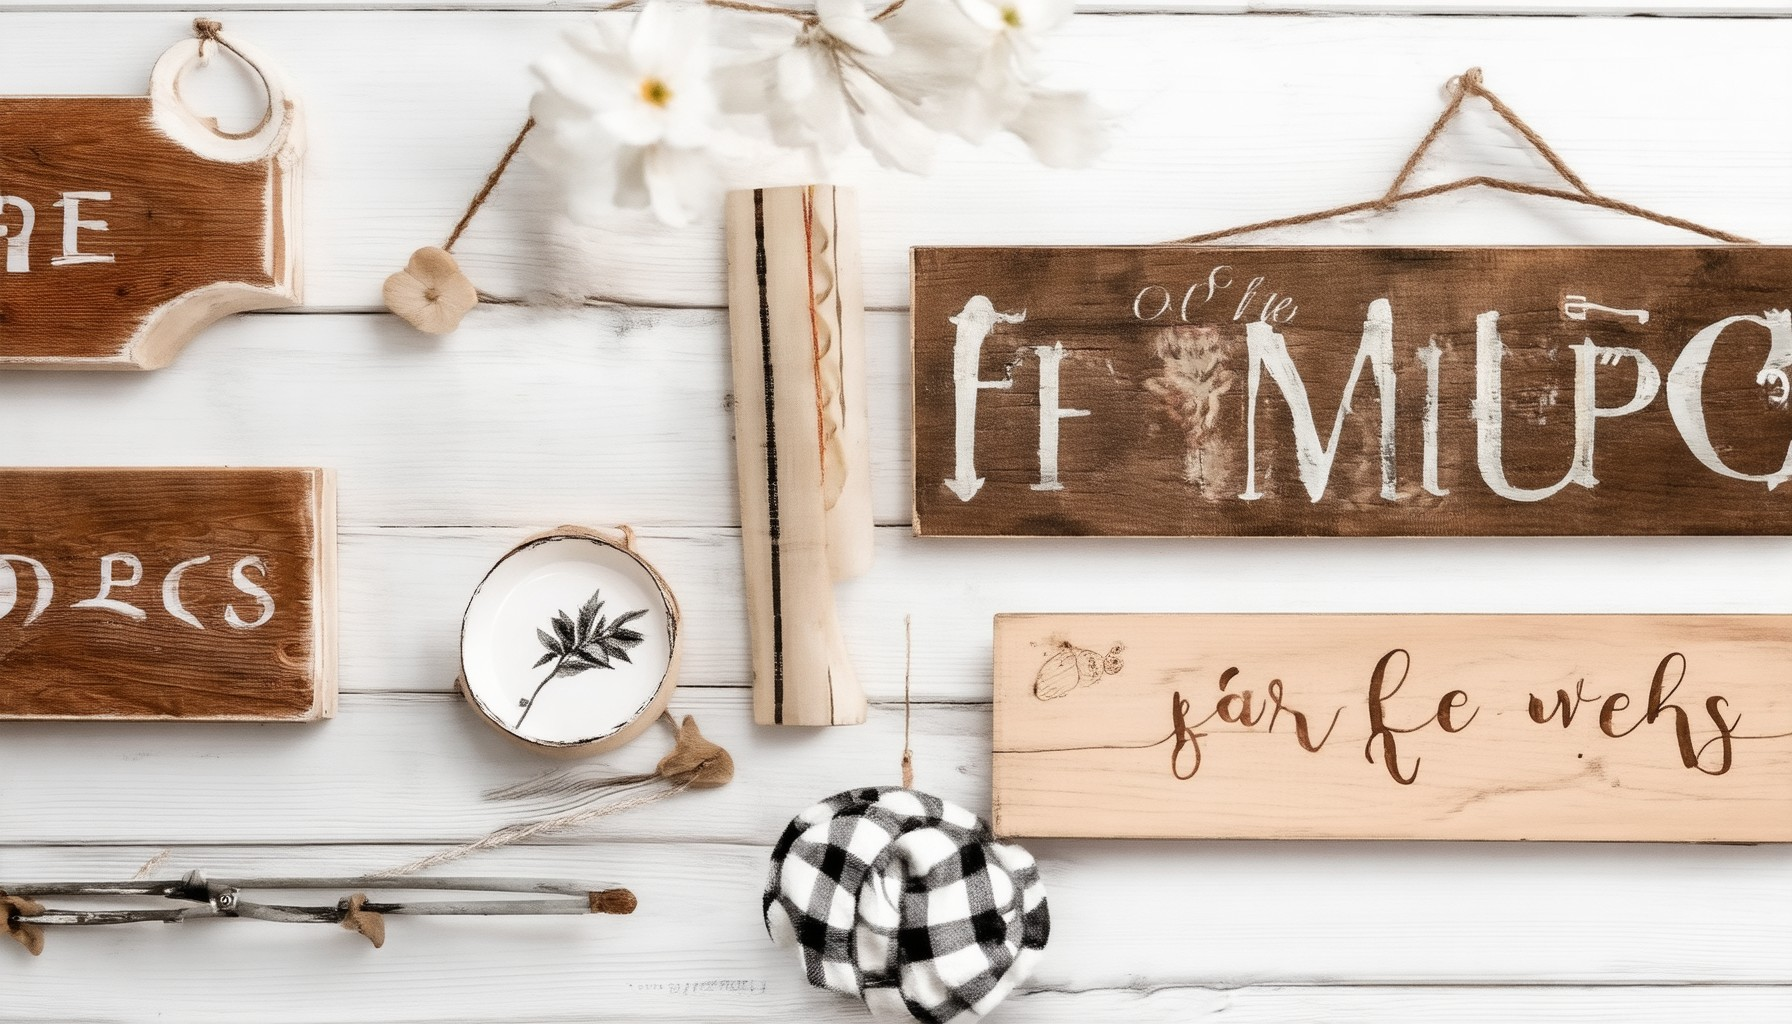
Transform your home decor with the charm of farmhouse-style signs, crafted effortlessly right in your own kitchen! Whether you’re aiming for a vintage, rustic, or cozy vibe, DIY farmhouse signs offer a unique way to infuse personality into your space. In this guide, we’ll explore simple, cost-effective methods to create elegant farmhouse signs that blend seamlessly into your home’s aesthetic. From using weathered wood to adding distressing details, these projects are perfect for those who love the look of rural life but don’t want to spend hours on complex woodworking techniques. Discover how to elevate your home decor with farmhouse signs that are as stylish as they are easy to make. Whether you’re a seasoned DIY enthusiast or a newcomer to crafting, these ideas will inspire you to create distinctive pieces that reflect your personal style. Let’s dive into the world of farmhouse signs and unlock the secrets to crafting rustic masterpieces that will captivate anyone who steps foot inside your home.
Key Takeaways
– Choose the right materials for a rustic look, whether wood, metal, fabric, stone, or canvas, to create DIY farmhouse signs that stand out.
– Design simply with meaningful phrases like “Welcome” or “Home Sweet Home” for personalized charm.
– Add personal touches by incorporating custom messages, initials, or decorative elements like flowers or vines.
– Enhance durability with finishing techniques like distressing and sealing to protect your signs from weather.
– Mount strategically near entrances, porches, or gardens for maximum visual impact.
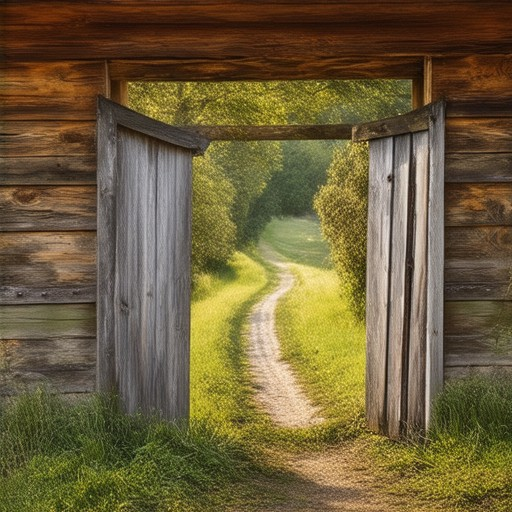
How to Create Simple DIY Farmhouse Signs
Transform your home decor with charming DIY farmhouse signs using simple materials and techniques. Here’s a step-by-step guide to crafting these rustic accents:
- Choose Your Material: Select weathered wood planks, MDF, or recycled wood for a natural, weathered look. These materials are readily available at most hardware stores or DIY supply shops.
- Sand and Prepare the Wood: Start by sanding the wood to remove splinters and create a smooth surface. Use medium-grit sandpaper and a sanding block for an even finish. Wipe away dust with a clean cloth.
- Apply Base Paint: Begin by painting the wood with a high-quality acrylic paint in a neutral shade, such as gray or white. Allow the paint to dry completely before proceeding.
- Weather the Wood: To mimic years of wear, lightly spray the wood with water or coffee using a sponge. Let it sit to absorb, then bake with a blow dryer to create cracks and imperfections. For a more dramatic effect, apply layers of different paint shades and distress with a dry brush.
- Add Distressing Details: Use a utility knife or sandpaper to create small cracks and grooves along the edges. Add metal accents like hinges or bolts for extra texture and dimension. These can be found at most hardware stores.
- Assemble and Display: Once painted and distressed, attach any decorative elements like ropes or chains. Hang your finished sign using picture frames or wall hooks in areas like entryways, porches, or gardens. Personalize with family names or dates for a unique touch.
For more DIY ideas and supplies, visit our DIY Supplies Hub or explore our Farmhouse Decor Collection . Let your creativity run wild and transform your space into a cozy farmhouse retreat!
Simple DIY Farmhouse Sign Ideas
Creating rustic farmhouse signs can elevate your home decor with minimal effort. Here are some easy-to-follow ideas for crafting charming signs:
- Wooden Signage : Start with untreated wooden boards for a classic look. Use sandpaper to smooth the edges and apply a coat of paint in muted tones like weathered white or sepia. For added texture, apply a second layer of paint, leaving some areas intentionally uneven for a rustic feel.
- Metal Signs : Repurpose metal pieces like old farm gates or fencing. Paint them in a dark color like black or brown and distress the surface by hammering or scratching to mimic aged metal. This adds industrial charm to your decor.
- Fabric Banners : Create a bold statement with fabric letters or phrases. Paint or print your design onto fabric, then sew or glue the pieces together. Hang them on walls or doors for a vibrant yet rustic touch.
- Painted Mason Jars : Transform mason jars into decorative signs by painting their rims and adding metallic accents. Fill them with twigs, candles, or small plants for a cohesive rustic theme.
- Signage with Letters : Use lettering tools or stencils to create personalized signs. Apply paint or varnish to the letters and attach them to wooden backgrounds. This allows for customization and a handcrafted look.
Tips for Achieving Rustic Charm
- Emphasize weathered textures by using distressed paints or natural imperfections in materials.
- Add dimensional elements like twigs, vines, or ropes to give signs depth and visual interest.
- Consider incorporating natural elements like stones, pebbles, or feathers for a truly rustic feel.
- Pair signs with complementary decor, such as lanterns, vintage clocks, or woven baskets.
These DIY farmhouse sign ideas offer a variety of options to suit any style. Whether you prefer wood, metal, or fabric, you can create unique pieces that reflect your home’s personality. Get inspired and start crafting!
Explore more DIY ideas on PravyloProject.com
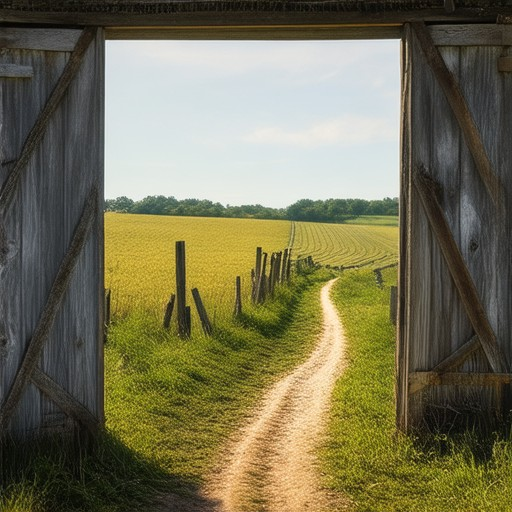
Creating Easy DIY Farmhouse Signs
Transform your home into a charming farmhouse style with these simple DIY sign ideas. Whether you’re crafting for your front door, garden, or interior decor, these easy-to-follow steps will guide you through creating beautiful, personalized farmhouse signs.
Materials Needed
- Weathered wood or MDF board
- Wooden or foam core letters
- Chalk paint
- White paint (for backgrounds)
- Paintbrushes and sponges
- Glue (wood glue or hot glue gun)
- Sandpaper
- Sealant (clear acrylic sealer)
- Optional: Rope, twine, or decorative accents
Step-by-Step Guide
- Prepare Your Letters: – Trace or sketch your desired letters, numbers, or words onto paper. – Cut out your shapes from cardboard or foam core using a craft knife. – Paint your letters with chalk paint and let them dry completely. – For a smoother finish, lightly sand each letter to remove sharp edges.
- Assemble Your Sign: – Choose a sturdy base from weathered wood or MDF. Paint it with chalk paint and let it dry. – Arrange your letters on the base, spacing them evenly for readability. – Secure each letter in place using wood glue or hot glue, ensuring they stay flat and straight.
- Add Personality: – Paint a background scene or pattern on the base using regular paint. – Personalize your sign with a meaningful phrase, family name, or welcome message. – Enhance your design with decorative elements like rope borders or a small hook at the top for lighting.
- Seal and Protect: – Apply a clear acrylic sealer to all painted surfaces to protect against weather and wear. – Let the sealer dry completely before displaying your sign.
- Hang Your Sign: – Attach a picture hook or eye screw to the back of the base for hanging. – Choose a prominent location, such as your front door, porch, or garden shed. – Ensure the sign is secure and won’t sway in the wind by using a sturdy mounting bracket or wire.
By following these steps, you’ll create a unique farmhouse sign that adds character and warmth to your home’s exterior or interior spaces. Get creative and customize your designs to reflect your personal style!
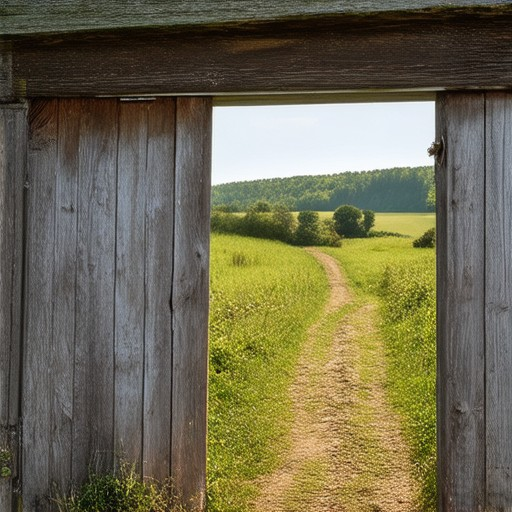
Creating the Easiest DIY Farmhouse Signs
Follow these simple steps to craft charming DIY farmhouse signs that add character to your home:
- Gather Materials: Start by collecting weathered wood, acrylic paint, distressing tools, decorative elements like flowers or vines, and a sturdy base material.
- Prepare the Wood: Sand the wood evenly to remove splinters and create a smooth surface. Consider using a medium-grit sandpaper for better control.
- Paint and Distress: Apply a base coat of paint and let it dry. For the distressed effect, use a technique like peeling back paint edges or applying a rough texture with a brush. Check out PravyloProject for detailed tutorials.
- Design the Sign: Choose a phrase or message that resonates with you, like “Welcome” or “Home Sweet Home.” Use stencils or freehand lettering for a personalized touch. Add decorative elements like fabric flowers or metal accents for extra flair.
- Mount the Sign: Attach the sign to a sturdy wooden board using screws. Position it in a visible spot near your entrance or along your driveway for maximum impact.
- Protect the Sign: Apply a clear polyurethane coating to shield the sign from weather damage. Allow it to fully dry before displaying.
For more ideas and advanced techniques, visit PravyloProject and explore their extensive collection of DIY guides and inspiration.
Easy DIY Farmhouse Sign Ideas for Rustic Home Decor
Creating charming and rustic farmhouse signs doesn’t require advanced skills or expensive tools. Here are some simple and elegant DIY ideas to decorate your home with:
-
1. Wood Sign with Painted Initials
Start with a simple wooden plank and paint it with a base color like white or cream. Once dry, use black or brown paint to add your initials or family name. Finish with a coat of sealant to protect the sign and make it weather-resistant. Explore More Wood Sign Tutorials
-
2. Metal Sign with Distressed Design
Take a metal sheet and cut it into a rectangular shape. Sand the edges for a rough look and apply a rust-resistant primer. Use stencils or paint to create a distressed design. Allow it to rust naturally for a few days before displaying it outdoors. Metal Farmhouse Sign Ideas
-
3. Fabric Banner with Primitive Motifs
For a softer look, sew together fabric pieces to create a banner. Use basic stitching techniques to attach motifs like stars, moons, or leaves. Hang it on a wall or fence for a cozy, rustic vibe. Fabric Banner Tutorial
-
4. Stone or Brick Sign with Weathered Effect
Arrange stones or bricks in a pattern and secure them together with mortar. Let the sign cure for a day or two before painting it with a weathered finish. Lightly sand the surface for a natural, aged appearance. Stone Farmhouse Signs
-
5. Canvas Sign with Hand-Painted Designs
Stretch a canvas over a sturdy frame and paint it with a rustic design. To add texture, use a sponge or brush to blend paints for a weathered look. Display it indoors or outside in a shaded area to prevent fading. Canvas Farmhouse Signs
These DIY farmhouse sign ideas are perfect for adding character to your home. Whether you prefer wood, metal, or fabric, there’s a project here for every skill level. Get inspired and start crafting today!
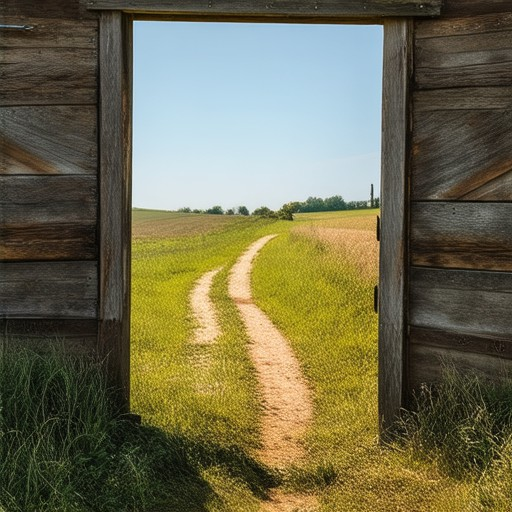
Creating Easy DIY Farmhouse Signs
Transform your home into a charming farmhouse style with these simple DIY sign ideas. Whether you’re crafting for the porch, garden, or interior spaces, these easy-to-follow steps will guide you through creating beautiful, rustic signs.
Materials Needed:
- Weathered wood or MDF boards
- Cardboard or foam core letters
- Chalk paint
- White paint or stain
- Wood glue
- Sandpaper
- Sealer (polycrylic recommended)
- Picture frame (optional)
- Sawtooth hanger
- Rope lights or decorative accents (optional)
Step-by-Step Instructions:
- Prepare Your Letters: – Trace or sketch your desired text/numbers onto cardboard or foam core. Cut them out carefully. – Sand the edges of each letter to ensure smoothness and prevent splintering. – Paint the letters with chalk paint and let dry completely. For a weathered look, lightly distress with sandpaper or a wire brush. – Apply a coat of white paint or stain to enhance the rustic charm. Allow to cure fully before proceeding.
- Assemble the Sign: – Measure and mark the length of your sign board. Use wood glue to secure letters in place, spacing them evenly. – For added stability, attach a thin plywood or MDF backing to the center of the board using wood glue and clamps. – Once all letters are set, wrap the board with twine or string for a natural look, securing ends with a bow.
- Seal and Protect: – Apply a thin layer of polycrylic sealer to all surfaces to shield against moisture and fading. – Optional: Add rope lights along the bottom edge for a soft, glowing effect.
- Frame the Sign: – Repurpose an old picture frame by disassembling it and using the pieces to frame your sign. – Secure the frame around the sign using clamps and glue, ensuring it fits snugly without covering any letters.
- Hang Your Sign: – Attach a sawtooth hanger to the back of the framed sign for secure hanging. – Choose a prominent location, such as your porch, garden gate, or entryway, for maximum visibility.
Optional Enhancements:
- Add decorative elements like fabric flowers, beads, or small potted plants for extra charm.
- Use rope lights or solar-powered fairy lights for a cozy, illuminated look.
By following these steps, you’ll create a personalized farmhouse sign that enhances your home’s curb appeal and adds a touch of rustic elegance.



0 Comments